

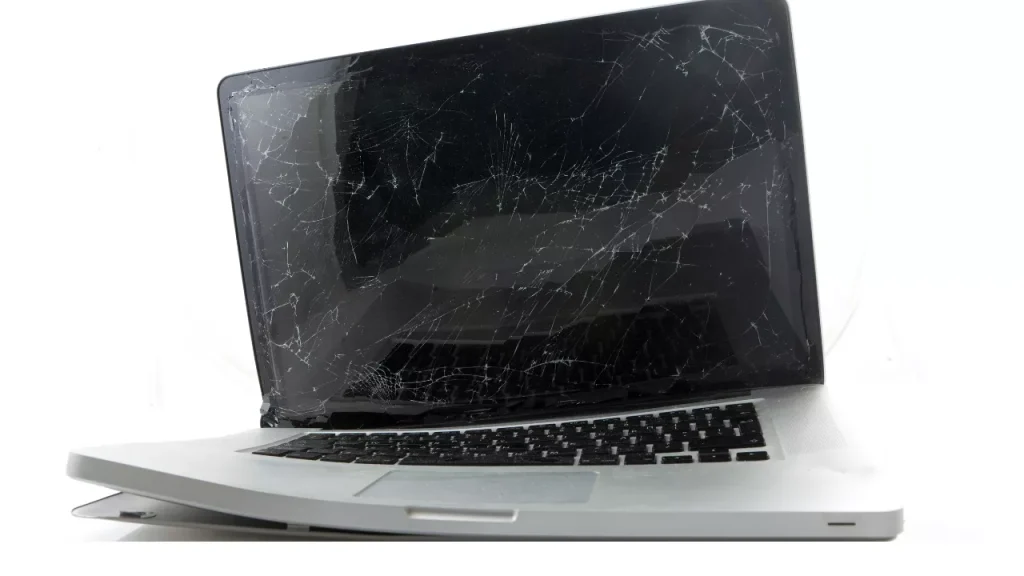
Dealing with a cracked laptop screen? It can be stressful, but the good news is that it can be very easily repaired in most cases. Many people believe that a cracked or damaged screen means the laptop is dead. But that’s not true most of the time, as most laptop screen damage can be repaired at an affordable cost and can even be completed the same day. Whether you are planning to try a DIY fix or prefer professional laptop repair, understanding the problem is the first step toward getting your device back to perfect working condition.
In this guide, we’ll walk you through everything you need to know, from understanding different types of laptop screen damage and identifying the root cause, to step-by-step repair instructions, minor DIY fixes, and when a broken laptop screen can be repaired or when to seek expert laptop screen repair services.
Understanding Laptop Screen Damage
When a laptop is dropped, or pressure is applied to the lid, or maybe if objects like a pen or headphone cable are pressed on the lid, it can cause a crack on the laptop screen or other types of laptop screen damage. Sudden change in laptop temperature, defects while manufacturing, or even you carrying it by its screen can also cause laptop screen damage over time.
You shouldn’t jump to fixing your laptop without knowing what caused the issue with the laptop screen. Sometimes, the issue may not be limited to the screen and could require a professional laptop repair. So first, understand the cause to not only help you decide if it can be fixed but also to avoid the same issues in the future.
Common Types of Laptop Screen Damage
Here are some common problems you might run into with a laptop screen:
- Cracked or shattered glass: The most obvious sign of a broken laptop screen is when the outer layer of the screen is cracked. This makes the screen unreadable or shows black spots. In these cases, the screen must often be replaced.
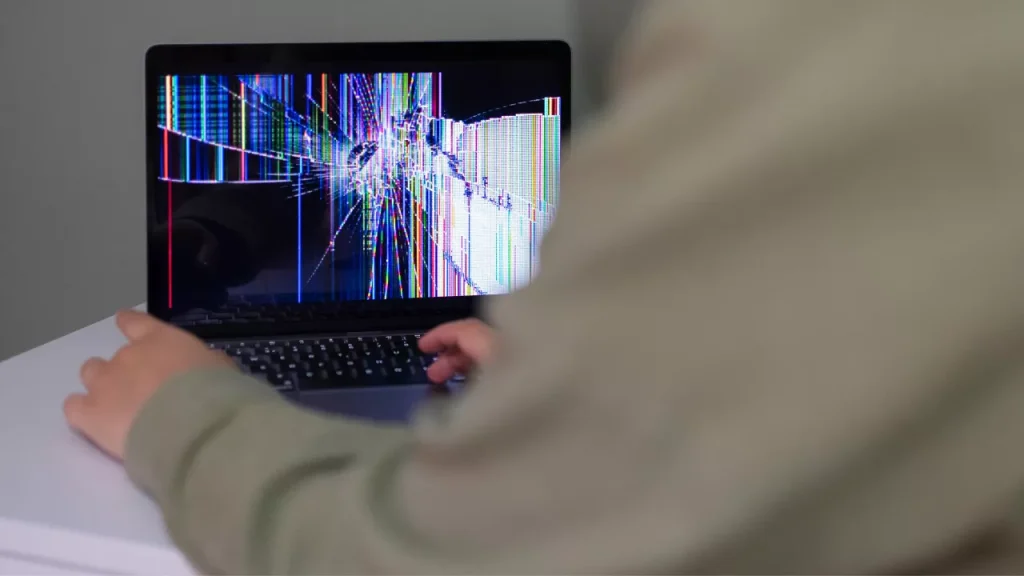
- Lines, coloured bars or blotches on screen: This often means the LCD panel itself or the internal cable is damaged. It is less likely something you can fully fix without components.
- Black screen but laptop powers on: If you turn on your laptop and you see a blank laptop screen, it could be an issue with the display panel. But it could also be a graphics card or motherboard issue. Hook up an external monitor, and you might be able to tell if it is a laptop broken screen or something else.
- Flickering, dim display, or backlight issues: The panel itself might be fine. But sometimes, with a loose or damaged backlight or connection cable, it can cause issues. In some cases, even without replacing the full screen, this can be repaired.
Understanding the exact nature of your laptop’s broken display will help you decide whether you need to fully replace the laptop screen, or only try a temporary fix, or seek professional help.
How to Fix a Broken Laptop Screen?
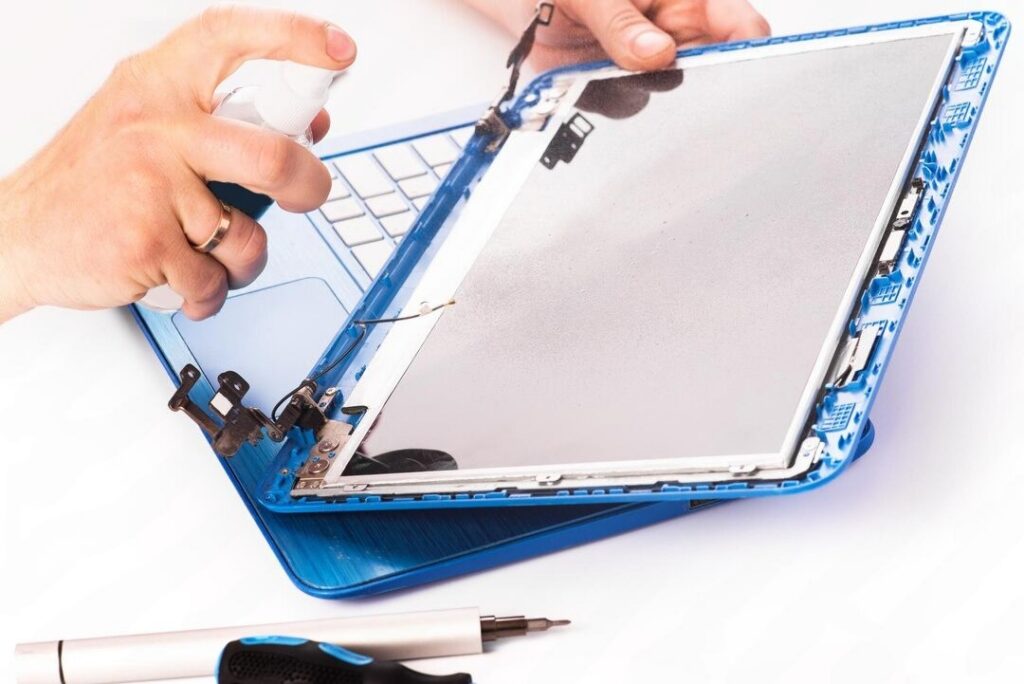
You can most of the time repair a laptop’s broken display yourself. But, back up important data first. Only if you are comfortable with technical tasks, your laptop is out of warranty, or your warranty allows self-repair, follow these clear, step-by-step instructions.
Step 1: Diagnose the Problem
- First of all, power on your laptop. Then observe the display.
- If the display doesn’t work, use HDMI, VGA, or USB-C to connect an external monitor:
- If the external monitor works normally, it is very likely that the issue is with your laptop’s screen or maybe its internal connection. The graphics subsystem is likely fine.
- If the external monitor also shows nothing, there could be a deeper problem, like a motherboard failure or faulty GPU. DIY repairs should be stopped, and then consult a professional technician.
- Look if there is any visible damage. Open the lid slowly. Check if there are any cracks, black spots, or fluid-like stains inside the screen. If you notice a crack on the laptop screen or other visible damage then it is a sign to repair your laptop. So you will need to replace the LCD panel.
- Check for faint images or backlight issues. First, grab a flashlight. Shine it at an angle on the screen. Something is wrong with the backlight if you see faint images. The inverter might need to be replaced if you have an older laptop. But with modern LED screens, the full panel may need replacement.
- Test with BIOS or safe mode. If the screen works in BIOS, the issue may be related to software or driver and not a hardware issue. Update display drivers or reinstall. Check display settings, or perform a system restore. This may fix the issue without hardware replacement.
Step 2: Check Internal Connections
- Power off your laptop. Also, disconnect the battery if possible. To prevent static discharge, use an anti-static strap.
- Inspect the ribbon cable and connector:
- Ensure the cable is seated properly and it is not twisted, pinched, or damaged.
- If possible, disconnect the cable and then reconnect. This is to make sure that the connection is secure.
- When you turn on the laptop, gently wiggle the cable briefly. And see if the display flickers. This can indicate a loose connection.
- Determine next steps:
- If the cable looks fine but there is visible laptop screen damage, replacing the LCD panel is the way to go.
- The screen is intact but flickers or dims. Then, the problem might be the backlight or inverter, which sometimes can be repaired.
Step 3: Remove the Damaged Screen
- Disconnect power. And if possible, remove the battery as well.
- Remove screws that secure the screen to its metal frame using a small Phillips screwdriver.
- Carefully detach the video cable from the broken laptop screen.
- Lift out the damaged screen gently. Avoid any pressure on the display or nearby components.
Step 4: Install the New Screen
- Check compatibility because display issues or improper fitting could be a problem. Your replacement or new screen should match your laptop’s model number, size, resolution, and connector type.
- Connect the video cable to the new screen, making sure that it is seated and aligned firmly.
- Secure the screen in the frame using the screws you removed earlier.
- Reattach the bezel carefully.
- Reconnect the battery and power, and turn on the laptop to test the new screen.
Step 5: Confirm Functionality
- Check display quality. Ensure that the brightness is proper. Check that there is no flickering and colour is accurate.
- Test the lid movement. Open and close the laptop gently. This is to ensure the hinges are smooth and the screen is stable.
- Final adjustments. If everything works properly, your laptop screen replacement is complete.
To prevent future screen issues, pressing on the display should be avoided, and always close the lid gently. Also, don’t ever place any heavy objects on top of your laptop. A padded laptop sleeve or hard shell case can also be used to help prevent cracks and pressure damage.
DIY Fixes for Minor Laptop Screen Issues
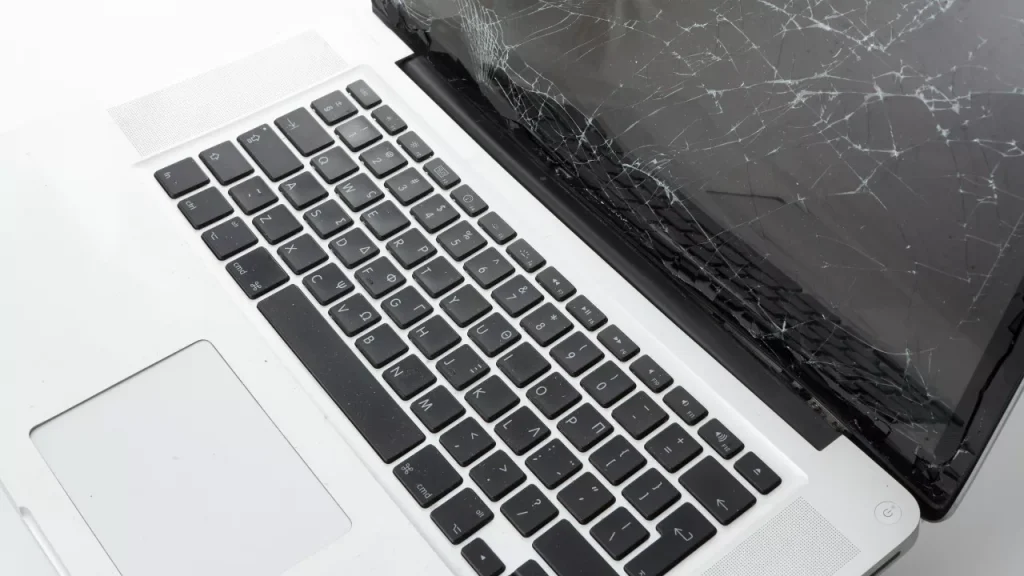
If your screen isn’t fully shattered and if the only issues are minor cracks or looseness of cables, here are some fixes that are less invasive before you opt for replacement of the full panel:
- For a cracked laptop screen with hairline cracks or minor outer glass damage, you should apply a screen protector or clear adhesive film if you don’t want the crack to spread further.
- Small cracks might not cause a big issue and also might not affect performance greatly. But if it’s for cosmetic purposes, use a clear nail polish carefully to fill those cracks. This doesn’t restore full display.
- Tighten any loose hinges. Also, check that the display cable is not being pinched when you open or close the lid.
- Use an external monitor temporarily if the built-in screen is too damaged. In the meantime, you can continue using your laptop as a desktop setup.
With these fixes, the usable life of your laptop with laptop screen damage may be extended. But they are not always permanent or ideal if the damage caused is severe.
How to Prevent Laptop Screen Damage

Although accidents can’t always be avoided, a few simple habits can help protect your laptop screen and extend its lifespan.
- Carry your laptop in a padded case or sleeve to reduce the risk of damage while travelling.
- Avoid placing heavy objects on top of your laptop, as pressure can crack or damage the LCD panel.
- Open and close the lid gently by holding the centre rather than one corner.
- Keep the keyboard clean so small objects don’t press against the screen when the lid is closed.
- Don’t lift the laptop by the screen, as this can break the hinges and display assembly.
- Handle your laptop with care to reduce the chances of accidental drops or impacts.
Taking these simple precautions can help you avoid costly repairs and keep your laptop screen in good condition for years to come.
When Should You Repair or Replace a Damaged Laptop Screen?
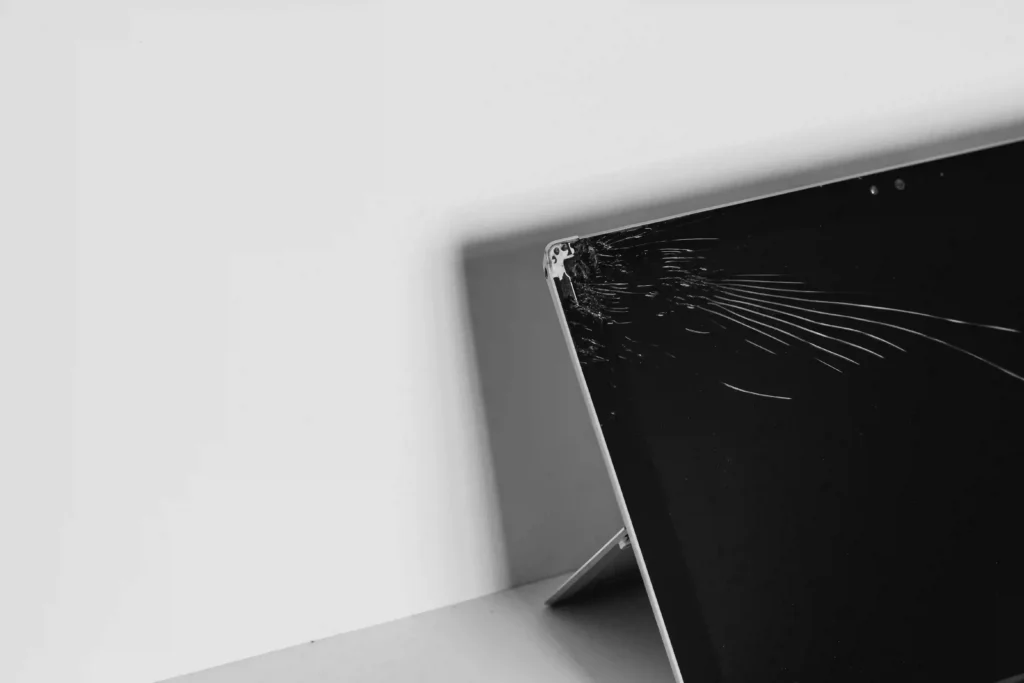
Not all laptop screen problems require a full screen replacement. Some issues can be fixed with a simple repair, while others mean the display panel has been permanently damaged. The table below can help you understand which solution is generally recommended for different types of screen problems.
| Common Screen Problem | Recommended Solution |
| The screen has a small crack, but the display still works normally. | Replace: Even a small crack can spread over time and weaken the screen. Replacing it early helps prevent further damage. |
| The screen is badly cracked or shattered. | Replace: A cracked LCD panel cannot be repaired and will need a new screen. |
| There are black spots or ink-like patches on the display. | Replace: This is usually caused by internal LCD damage and cannot be repaired. |
| Vertical or horizontal lines appear on the screen after a drop or impact. | Replace: Physical damage to the LCD panel often requires a screen replacement. |
| The screen flickers occasionally, but there is no visible physical damage. | Repair: The issue may be caused by a loose display connection or another repairable component. |
| The display stays black, but the laptop powers on normally. | Repair or Replace: A technician should first identify whether the problem is with the screen or another internal component before recommending a solution. |
| The screen brightness is very dim, even at maximum brightness. | Repair: This may be caused by a faulty backlight or display connection, which can often be repaired. |
| A small group of dead pixels has appeared on the screen. | Repair or Replace: Depending on the number and severity of the dead pixels, repair may be possible, but replacement is often the better long-term solution. |
| The touchscreen laptop no longer responds after the screen was damaged. | Replace: If the screen or digitiser is damaged, replacing the screen assembly is usually required. |
If you’re unsure whether your laptop screen needs a repair or a replacement, it’s best to have it inspected by a professional technician. Choosing a reliable professional computer repair service can accurately diagnose and can help you avoid unnecessary costs and ensure the screen problem is fixed correctly.
Consider Professional Repair Services
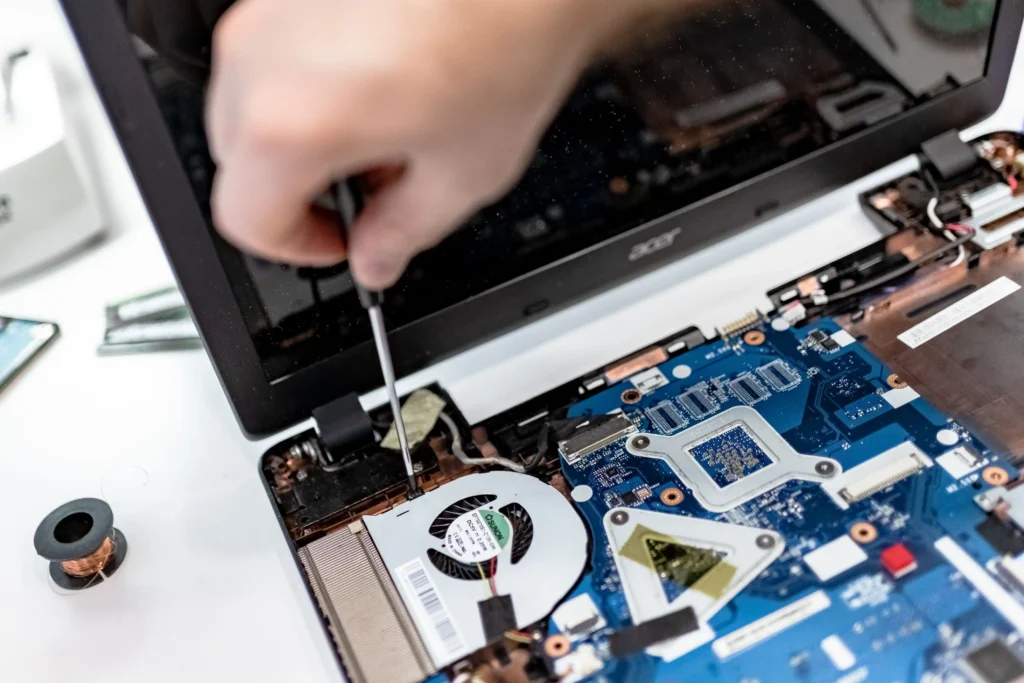
Sometimes, the damage is severe, for example, the display is cracked or it has large black blotches, or when the repair seems risky. This is when you consult a professional for your laptop screen repair services.
- Your laptop could be under warranty, but it still might not cover accidental damage, like a cracked or laptop broken screen. So to get it fixed, either an accidental damage plan or a professional repair service is needed.
- Using a certified service ensures the screen is correctly fitted, and quality components are used. And if other issues, e.g., hinge damage or internal cable stress, are present, they are addressed.
- Professional services also often offer free diagnostics and provide cost estimates before proceeding.
Is your laptop screen broken? But it is expensive, still under warranty, or you’re not confident opening it up safely. At times like these, professional help is often the wisest route.
If you’re looking for laptop screen repair in Perth, Computer Mechanics also provides same-day computer repair services for major brands like Apple, Dell, HP, Lenovo, Acer, and Asus. With most screen models in stock, we provide fast, professional installation and also reliable after-sales support for all kinds of laptop screen damage.
Conclusion
A broken laptop screen or a screen crack on a laptop can feel like a serious setback, but in most cases, it’s a problem that can be fixed efficiently and affordably. Whether you choose to diagnose and replace the screen yourself or rely on professional laptop screen repair services, acting quickly can prevent further laptop screen damage and keep your device performing at its best.
Don’t let a cracked screen display disrupt your productivity; get your screen repaired promptly and restore your laptop’s full functionality. Contact Computer Mechanics today and get your screen fixed and ready to use.
FAQs
1. Can I keep using my laptop if the screen is cracked?
Yes, you can still keep using your laptop even if the screen is cracked. But it depends. If the crack is minor and the display still shows properly, you can use it (possibly with an external monitor). However, it is risky if the crack spreads, causes black spots, or disrupts the display, and it is better to replace the screen.
2. Is it cheaper to replace the screen or buy a new laptop?
It depends on your laptop’s age, model, and the price of replacement parts. For most regular laptops, fixing the screen costs less than buying a new one. But if the laptop is old or parts are hard to find, the repair could end up costing almost as much as a new laptop.
3. Can I fix a broken laptop screen myself?
Yes, but only if you have the right tools, parts, and are confident enough to open up your laptop, you can replace the screen yourself. Steps include removing the bezel, then disconnecting the cables. After that, install the new screen and test. But you must be cautious and follow the guides.
4. What are the signs that I don’t just have a “screen issue” but a deeper hardware problem?
If you connect an external monitor and the external screen is blank, or you have no video output at all, the issue may be the graphics card, motherboard, or video cable, not just the screen panel. Then DIY screen replacement won’t solve the root problem.
5. How much time does it take to replace a laptop screen?
For someone experienced, it might take 30 minutes to an hour (once the correct part is in hand). For less experienced users, allow a couple of hours and ensure you have a clean workspace, proper tools, and a static-safe environment.
6. Can a damaged laptop screen be repaired?
It depends on the type of damage. Minor issues, such as a loose display cable or backlight problem, can often be repaired. However, if the screen is cracked, has black spots, or shows signs of internal LCD damage, replacing the screen is usually the best solution. A professional inspection can help determine the exact cause and recommend the most cost-effective repair.
7. How much does it cost to fix a screen on a laptop?
The cost of fixing a laptop screen in Australia typically ranges from AUD $150 to $500 or more, depending on the laptop’s brand, model, screen size, screen type (LCD, LED, touchscreen, or OLED), and the extent of the damage. Standard laptop screens are generally less expensive to replace than high-resolution or touchscreen displays. For an accurate quote, it’s best to have your laptop inspected by a qualified technician, who can assess the damage and recommend the most suitable solution.
