Worry no longer. What follows is not only details for replacing your HD with a SSD but a way to clone your system without a lot of fuss.
You’re welcome!
Let’s Get Started
The first step is research, finding the SSD compatible with your device. SSDs come in distinct sizes, some of which do not fit into every laptop. Talk with a tech, refer to your manual or call the manufacturer to talk about SSDs with the interface you need. Do take note that if your laptop is under any kind of warranty, replacing the HD could void it.
We also have to ensure your laptop is upgradable. Some laptops, like the Ultrabook, do not offer access to the hard drive. Most have a removable panel underneath the laptop. For the Ultra, consult your manual for removing the panel.
Required Tools
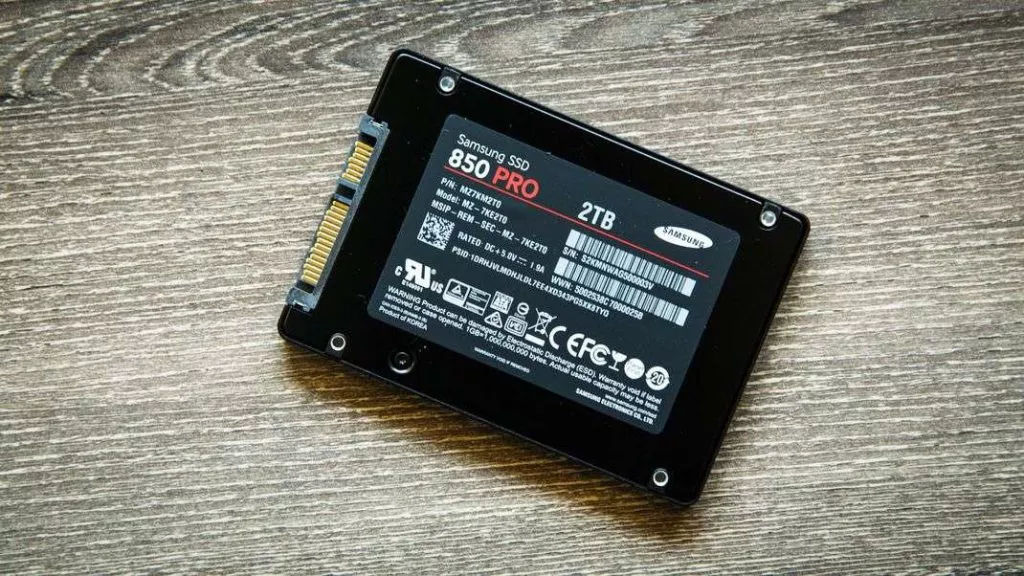
- SSD
- External adapter or enclosure
- Small Phillips screwdriver
- External hard drive (this is optional if you want to backup your personal folders)
Cloning Your Current Hard Drive
Create an image backup of your system in Windows 10. Use the Control Panel/System and Security option “Save backup copies of your files with File History.” Under “System Image Backup,” create a system image on a network or an external drive.
If you decided to use an external drive, save your large folders. They may not fit on the SSD. It may also be a good idea to at first minimize how much space you use on the new drive, especially if most of your files aren’t used regularly.
Connect the SSD
- Put the SSD in the closure, connecting it to the external enclosure or adapter before connecting it to the laptop via USB cable.
- If the SSD doesn’t initialize, use Windows Disk Management to create and format the disk.
- Set up partitions so that they align with current laptop parameters, especially if the SSD has smaller parameters than your previous HD. If necessary, shrink partitions by right-clicking the partition and selecting “Shrink.”
- Restart the laptop.
Cloning the Hard Drive
- Install cloning software.
- Follow software instructions for cloning. Be sure to optimize for SSD.
- Depending on software, find options for reviewing source drives and SSDs or to tweak preferences.
- Start the cloning process.
Swap Out the Drives
- Unplug and turn off the laptop, disconnect any devices, including the SSD, before removing the back panel.
- Remove and safeguard screws holding the HD.
- Carefully lift the drive at an angle between 30 and 45 degrees and gently pull it out.
- Install the SSD and put the panel back.
Booting Your SSD
Turn the laptop on. It should boot normally. If you hit Win+S, you can defrag and optimize drives. In this window, your drive should be recognized as SSD.
You can now put the old HD into the external enclosure or adapter and, using Disk Management, move your personal files to the new drive. Play it safe and make sure your automated backup covers the internal and external drives.
When the successful operation is complete, the only thing left will be to marvel at the change in your laptop’s performance. Does all this sound complicated? Well… it is! That’s were we come in, contact us today for a free quote on SSD installation on your device!
FAQs
1. What is a Solid-State Drive (SSD)?
A Solid-State Drive (SSD) is a type of storage device that uses flash memory to store data, unlike traditional Hard Disk Drives (HDD) that rely on rotating magnetic disks. SSDs have no moving parts, making them faster, quieter, and more reliable. This significantly improves boot times, application loading speeds, and overall system performance.
2. Can I change my laptop HDD to SSD?
Yes, you can easily replace your laptop’s HDD with an SSD. Most laptops have a compatible slot for a 2.5-inch SATA SSD or an M.2 slot for newer NVMe SSDs. Check the specific size and interface compatibility of your laptop to ensure a proper fit.
3. Is it worth putting an SSD in an old laptop?
Yes, upgrading an old laptop’s HDD to an SSD is highly beneficial. It significantly improves boot times, application loading, and overall system responsiveness, making your older computer feel much faster and more efficient.
4. How to Install an SSD in a Desktop PC?
To install an SSD in a desktop PC, follow these steps:
- Power off your computer and unplug it.
- Open the side panel of your PC case.
- Mount the SSD in a drive bay or M.2 slot.
- Connect the SSD to the motherboard with a SATA cable (for SATA SSDs) or directly into the M.2 slot.
- Close the case, boot into BIOS, and set the SSD as the primary drive.
- Install your operating system or clone your old drive.
5. How to Install an SSD in a Laptop?
To install an SSD in a laptop, follow these steps:
- Backup your data and create a recovery drive.
- Power off and remove the battery (if possible).
- Unscrew the back panel to access the drive bay.
- Remove the old HDD and replace it with your new SSD.
- Close the panel, power on, and reinstall or clone your operating system.